How to create a Codero Cloud Instance
This article is designed to walk you through the steps required to create a new Cloud Instance through Codero Cloud Portal https://portal.codero.com
Requirements:
* A current Codero Cloud Account.
Procedure
Log In
Log into your Codero Cloud portal using your login ID or Codero Client ID and your Password. https://portal.codero.com
Create Cloud
To begin creating a new cloud instances, click the  symbol from the Main Menu in the left column. This will open the Create Cloud Server screen.
Name
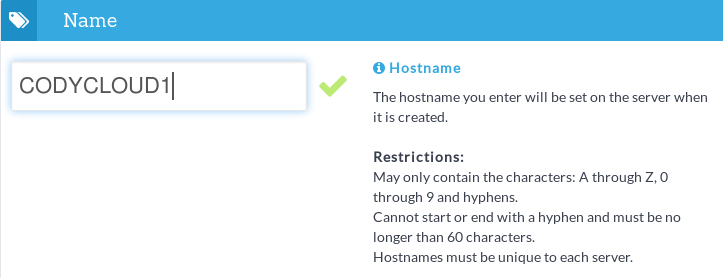
Select a unique name identifier for this server. The name may only contain characters A-Z, 0-9 and hyphens (-). You are limited to a total of 60 characters for the name and it cannot start with a hyphen.
Size
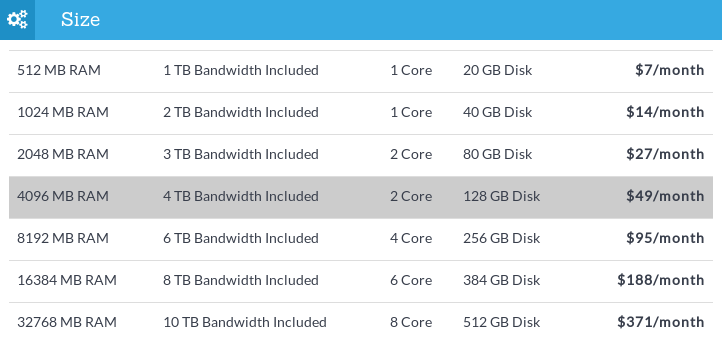
Codero Cloud instances are available in a variety of sizes. Each size has predetermined RAM, Bandwidth, cores and disk space. Click the option that supports your requirements. The monthly pricing for each size option is displayed on the right.
Operating System
Select the desired Operating System (OS) by clicking on the OS Icon, then select the required version. Any additional license fees for the selected OS will be displayed on the right.
At the time of writing, the OS versions available are:
Ubuntu 10.04
Ubuntu 12.04
Ubuntu 14.04
Debian 6.0
CentOS 5.10
CentOS 6.5
Fedora 18
ArchLinux 2013.07.01
Windows Server 2008
Windows Server 2008 w/MSSQL Standard*
Windows Server 2012
Windows Server 2012 w/MSSQL Standard*
Docker 1.0 on Ubuntu 14.04
Bandwidth
There are no options to select since Codero Cloud Bandwidth pricing does not change based on the cloud’s configurations. Currently, all incoming bandwidth is free and so is any private communication between the instance and any other Codero servers on the account provided they are connected with a Hybrid connection.
Billing Period
Select your desired billing period. Select between Hourly or Monthly. Hourly instances are best for development or for offloading processing spikes. If you are using your instance for hosting or other continuous services, select the Monthly option for the best pricing.
Create Server
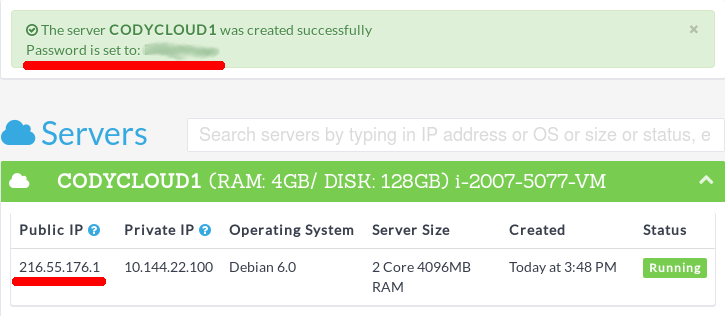
The last step is to create your server! Click the blue Create Server button at the bottom of the page.


Comments
So empty here ... leave a comment!